When and How to Wax Your Skis (Complete Guide for Utah Skiers)
- Mar 2
- 2 min read
If your skis feel slow, sticky, or harder to turn, they’re probably overdue for a wax.
Regular waxing is one of the simplest ways to:
Improve glide
Protect your ski bases
Extend the life of your skis
Make each run smoother and more enjoyable
For skiers in North Utah, waxing matters even more because of our dry, low-humidity snow.
Let’s break down exactly when you should wax your skis and how to do it properly.
For most recreational skiers and snowboarders, your gear should be waxed every 3-5 days on the mountain. For most skiers that means roughly every 2-4 weeks during peak seasons.
Utah typically has dryer snow which dries out bases much faster than wet snow in other areas. So, in Utah a skier or snowboarder should get their gear waxed every 2-4 full days on the mountain.
Here are some signs that it is time to wax your bases:
Bases look white or chalky
You feel drag or "sticky" on flat terrain
You're losing speed when compared to others
Snow is sticking to your bases
Turning feels less smooth
If you notice any of these, it's time.
Why Waxing Matters
Ski and snowboard bases are made from porous material that absorbs wax. Without wax,
Friction increases
Bases dry and oxidize
Micro damage accumulates
Performance declines
Repair costs increase
Wax acts as both lubrication and protection.
How to Wax Your Skis (Step-by-Step)
If you want to wax at home, here's the proper process.
What you'll need:
Ski wax (temperature appropriate)
Ski waxing iron
Plastic scraper
Nylon brush
Clean rag
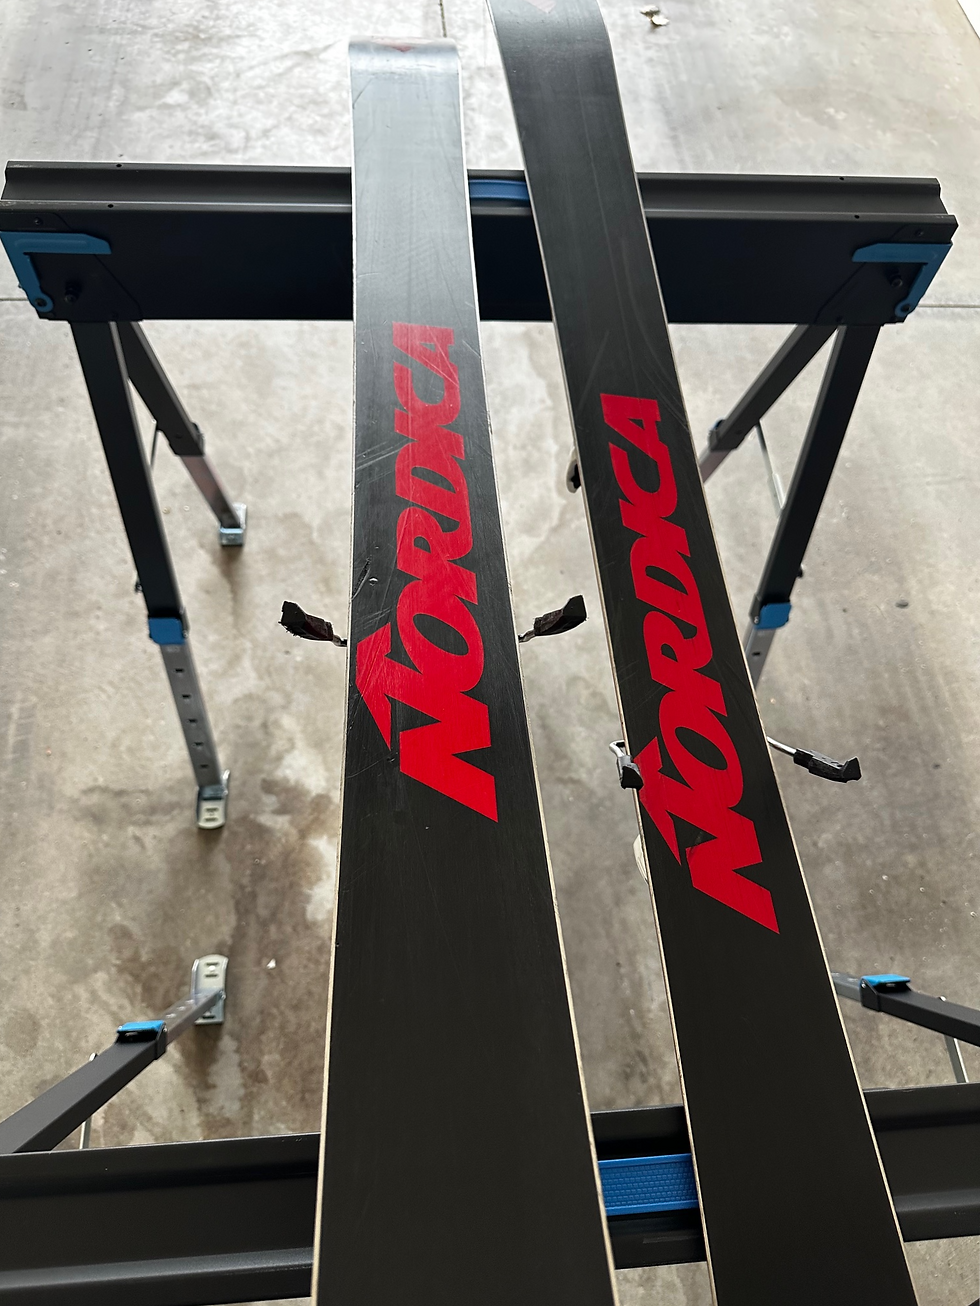
Stable surface or ski vise
Step 1: Clean the Base
Wipe down the base with a dry rag.
Remove any dirt or old wax buildup on the bases.
Step 2: Heat the Iron
Set your waxing iron to the recommended temperature on the wax packaging.
Important: The wax should melt smoothly with no smoke. If there is smoke, the iron is too hot.
Step 3: Drip Wax
Hold the wax against the iron and let it drip evenly along the base from tip to tail.
Step 4: Iron the Wax into the Base
Move the iron slowly along the ski to spread the wax evenly across the base.
Keep the iron moving to avoid overheating the base.
The goal is to create a thin, smooth layer across the entire ski.
Step 5: Let it Cool
Allow the wax to cool for at least 20 minutes.
This allows the base to absorb the wax.
Step 6: Scrape
Use a plastic scraper to remove excess wax.
You want the wax inside the base, not sitting on top.
Step 7: Brush
Finally, brush tip to tail using a nylon brush to polish and improve the glide.
DIY vs Professional Waxing
Waxing at home works well if:
You ski often
You enjoy working on gear
You have time
You have proper tools
But for many busy skiers, remembering to wax every few ski days becomes one more winter chore.
That’s when convenience matters.

Keep Your Skis Fast All Season
Regular waxing protects your investment and improves every run.
If you’d rather spend your time skiing instead of maintaining gear, many North Utah skiers and snowboarders choose a proactive ski care plan that keeps their skis ready all season.
